Stop changing your sprite sheet to fix animation speed
Stop Changing Your Sprite Sheet to Fix Animation Speed ## Introduction Animation in video games and other animation projects requires precision and an understanding of basic principles related to...
Stop Changing Your Sprite Sheet to Fix Animation Speed
Introduction
Animation in video games and other animation projects requires precision and an understanding of basic principles related to frames. One common mistake is changing the size or content of a sprite sheet to adjust the animation speed. Instead, it is better to check and set the timing parameters for each frame. In this article, we will discuss key concepts related to frames, frame source (FPS), duration, and other important aspects.
Understanding FPS and Animation Duration
FPS (frames per second) defines the number of frames displayed per second. Video games and animation projects often use different FPS for various purposes. For example, a game might use 8 FPS for some elements of animation, while other parts may require 12 or even 16 FPS.
Example Calculation of Frame Delay Time
To calculate the delay time for each frame, use the following formula:
[ \text{duration_seconds} = \frac{\text{frame_count}}{\text{playback_fps}} ]
[ \text{frame_hold_ms} = \frac{1000}{\text{playback_fps}} ]
For example, if you have eight frames and the playback speed is 12 FPS:
[ \text{duration_seconds} = \frac{8}{12} = 0.667 , \text{seconds} ] [ \text{frame_hold_ms} = \frac{1000}{12} = 83.333 , \text{milliseconds} ]
This means that each frame will be displayed for approximately 83 milliseconds.
Working with FrameSprite
FrameSprite is a browser-based workstation for creating game assets. It provides tools for managing time and exporting animations. However, it is important to remember that FrameSprite does not guarantee reliable AI animation, and its use should be accompanied by careful parameter setting.
Example Usage of FrameSprite
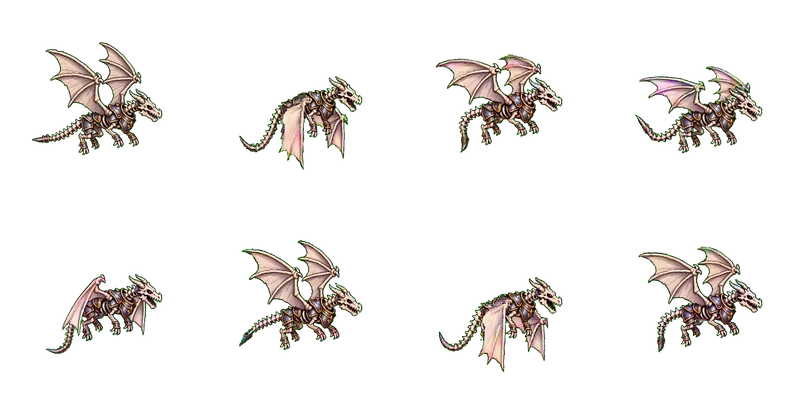
To demonstrate working with FrameSprite, you can use a public sample with eight frames. It is crucial to keep the same set of frames, order, canvas, and pivot point for all three tests. Only change the playback speed between values of 8, 12, and 16 FPS.
<!-- Example HTML for FrameSprite -->
<canvas id="spriteCanvas" width="512" height="512"></canvas>
<script src="https://example.com/frameSprite.js"></script>
<script>
    const canvas = document.getElementById('spriteCanvas');
    const fps = 12; // Set your desired FPS value
    const frameCount = 8;

    const frameSprite = new FrameSprite(canvas);
    frameSprite.setFPS(fps);
    frameSprite.setFrameCount(frameCount);

    // Add code to display frames
</script>
Tips for Setting Up Animations
Avoid Changing the Sprite Sheet
Changing the sprite sheet solely to adjust animation speed is inefficient and may lead to unwanted results. Instead, correctly set the timing parameters for each frame.
Checking and Setting Frame Duration
Check whether there are missing poses and the time each frame remains on the screen. This will help you better control the animation speed without needing to change the frame grid.
Example Code for Setting Frame Duration
// Function to calculate the hold time for each frame
function calculateFrameHoldMs(playbackFPS) {
    return 1000 / playbackFPS;
}

// Example usage of the function
const playbackFPS = 12;
const frameHoldMs = calculateFrameHoldMs(playbackFPS);
console.log(`Each frame will hold for ${frameHoldMs.toFixed(2)} ms`);
Conclusion
Proper management of frame timing and FPS is a key aspect of creating smooth and effective animations. Avoid changing the sprite sheet just to adjust animation speed and use available tools to set frame duration.